Node Rules
When adding or editing a node group, you can use regular expressions (RegEx) to set node rules within a node group or environment. Then, any nodes that match the RegEx patterns are added to the selected node group or environment. Node rules are useful for grouping similar nodes together with ease. For example, you could add all nodes titled 'Test' to a node group to better troubleshoot your node set. Or, you could add all nodes with 'Web' in their name to an environment for 'Websites'.
Note: However, unlike dynamic group queries, a node rule is static in nature. Meaning that, when a node is no longer compliant with the set rule(s), it is not automatically removed from the node group or environment. Any node removal requires manual intervention. For more information on how to set up a dynamic group query, see Dynamic Group Queries.
Node Groups
To set node rules for an existing node group, complete the following steps:
Note: To add node rules to a new node group, you need to create a new node group and apply the node rules during the creation process. For more information on how to add a new node group, see Add Node Group. This process describes how to apply node rules using regular expressions for an existing node group.
-
In the Guardian web application, navigate to the Monitored tab (
-
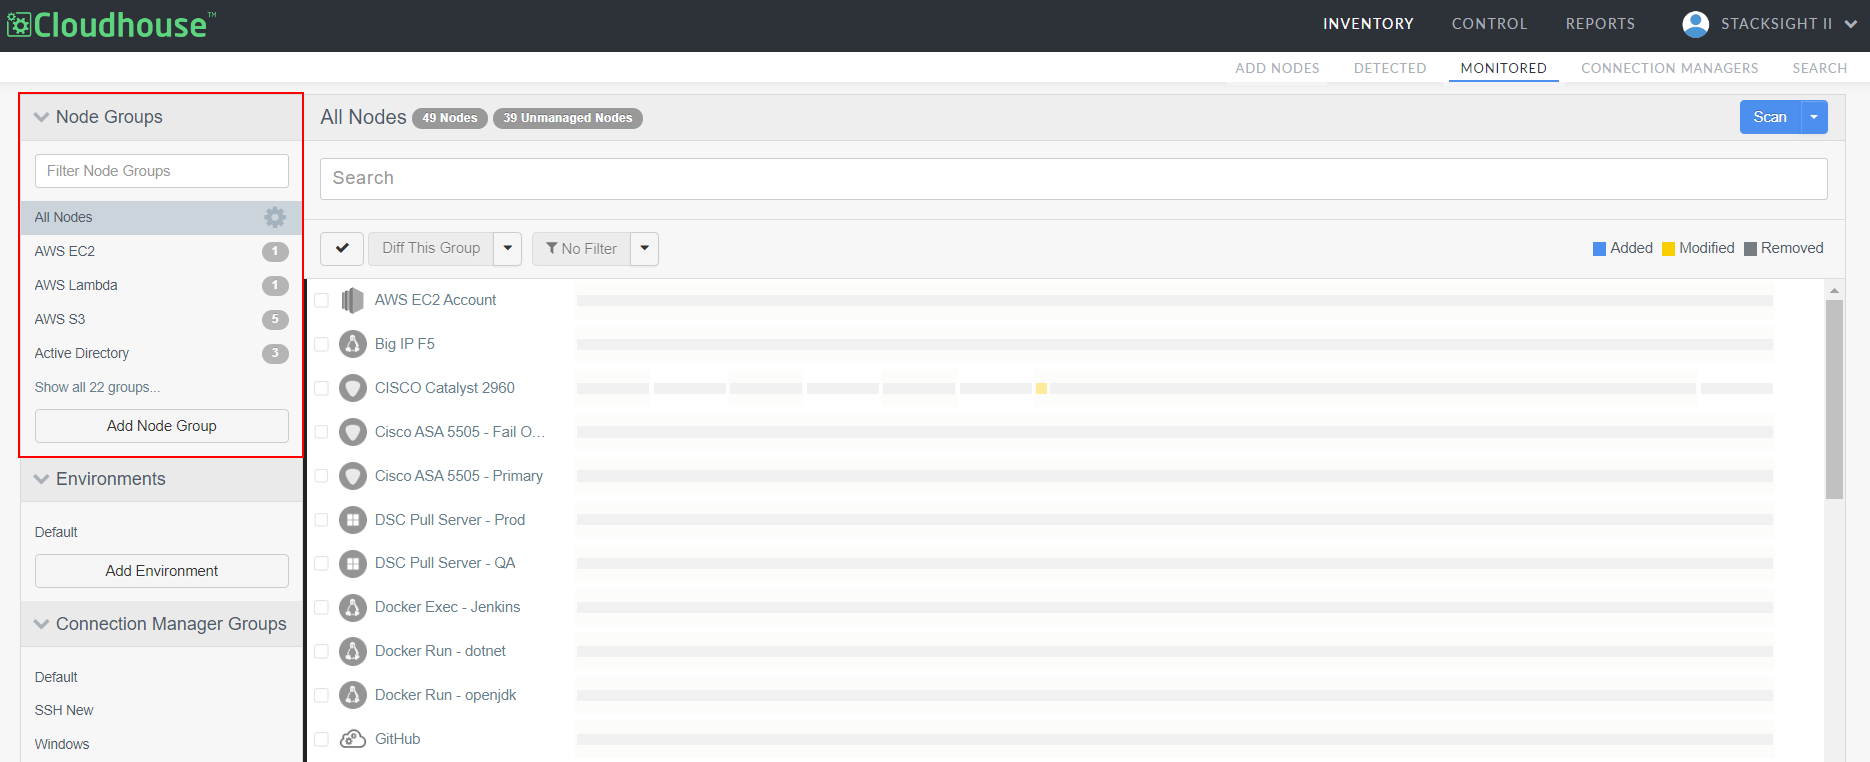
In the Node Groups drop-down menu, locate the node group you want to edit. Then, click the Settings button (
 ).
). 
-
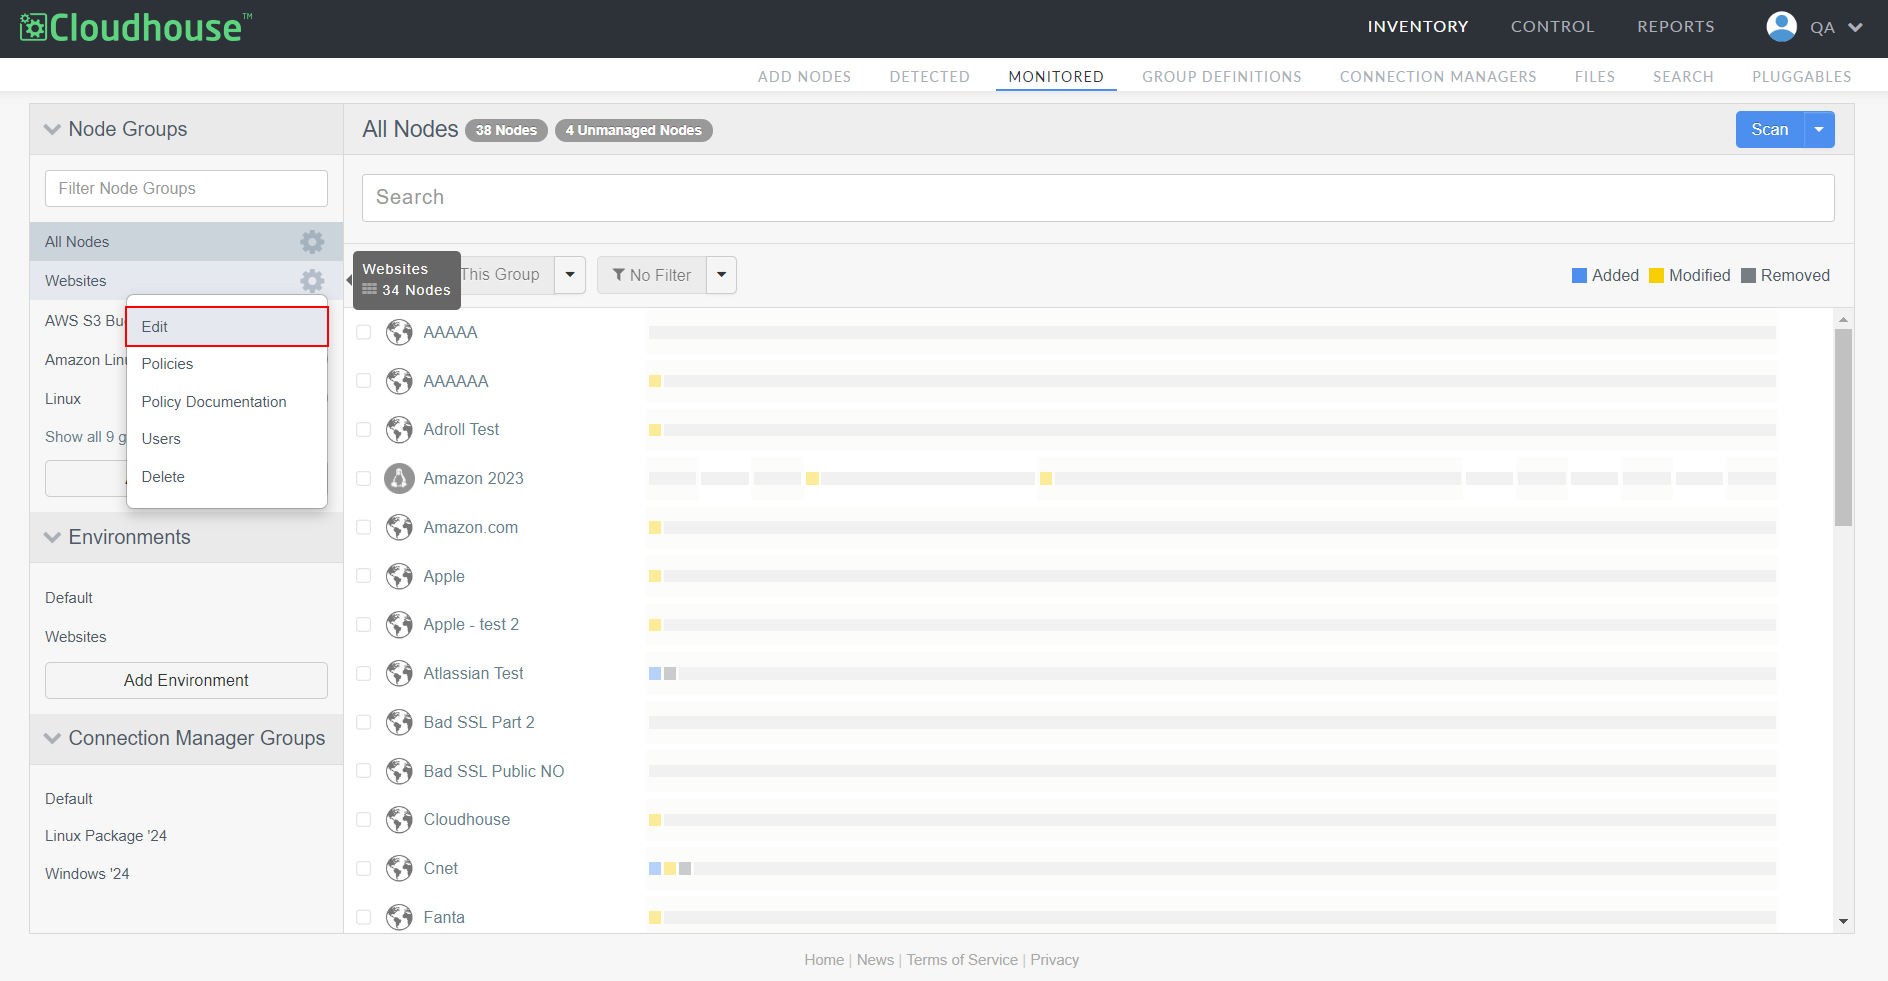
Select Edit from the list of options displayed. The node group settings page is displayed.
-
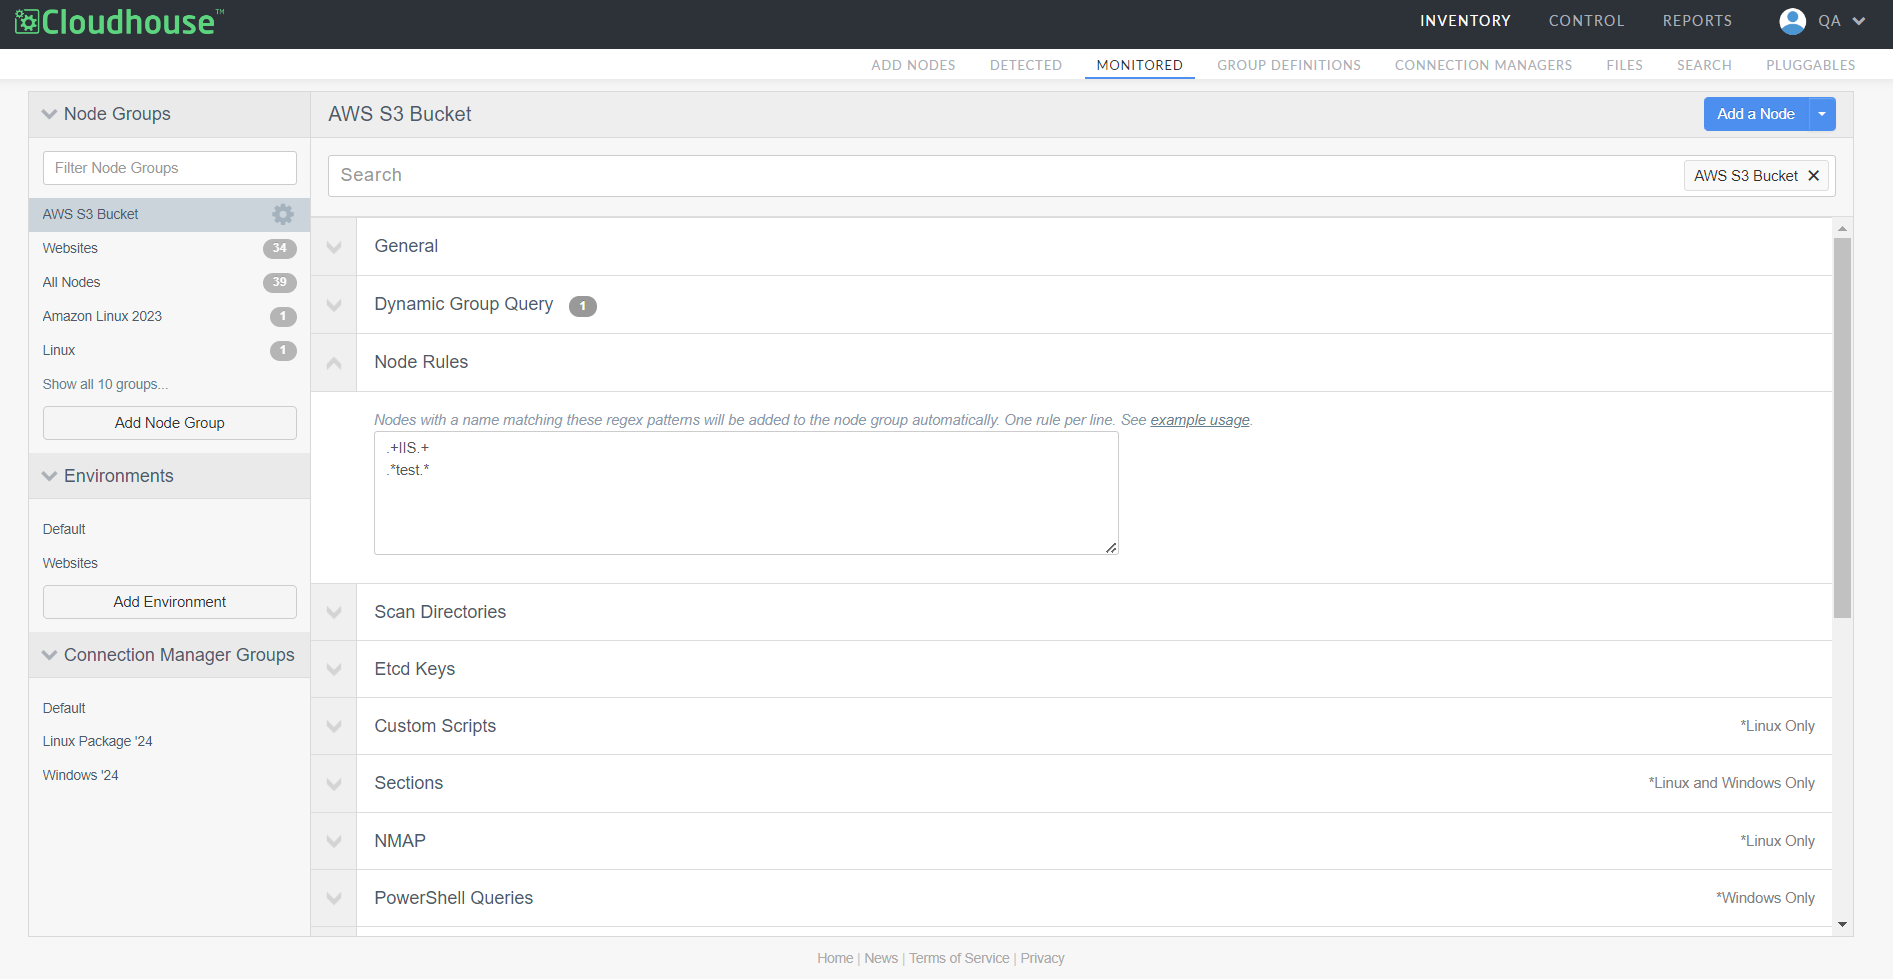
Click the Node Rules drop-down menu to display the Node Rules field.
-
Enter a regular expression in the field to match against the names of individual nodes. You can enter one expression per line, see Examples below for more information.
-
Once complete, click the Check button (
 ) to add the query to your node group's settings. Repeat as required.
 -
Then, click to Save your settings and apply them to the node group.
If successful, a confirmation message is displayed and the node group is updated and displayed. Any nodes that match the expression are automatically assigned to the node group. For more information about each of the sections not described in this topic, see Edit Node Group.
Environments
By default, when a node is added in Guardian it is assigned to the 'Default' environment. However, you can apply node rules to a custom (non-'Default') environment to automatically assign any nodes that match the regular expression pattern(s) to the associated environment. You can add multiple regular expression patterns to each environment, one per line.
The following behavior is present on node rules that are applied to an environment:
Note: This behavior is not present on node rules that are applied to a node group, as a node can belong to multiple node groups, but only one environment. For more information, see Node Groups.
-
When a new node is added to Guardian, the node rules present on each environment are checked against the name of the node (in an arbitrary order) and the node is assigned to the environment with the first match. If no match is found, the node is assigned to the 'Default' environment.
-
When a new environment is created with node rules in Guardian, any nodes that are assigned to the 'Default' environment that match the regular expression pattern(s) are added to the new environment.
Note: Any nodes that match the regular expression pattern(s), but are assigned to a custom environment are not added to the new environment.
-
When an existing environment's node rules are edited in Guardian, any nodes that are assigned to the 'Default' environment that match the new regular expression pattern(s) are added to the environment.
Note: Any nodes that match the regular expression pattern(s), but are assigned to a custom environment are not added to the edited environment.
In addition to node rules, you can utilize Environment Variable Overrides to ensure that the configuration of your application is configured correctly and your nodes are organized into the corresponding environments. For more information, see Environment Variable Overrides.
To set node rules for an existing environment, complete the following steps:
Note: To add node rules to a new environment, you need to create a new environment and apply the node rules during the creation process. For more information on how to add a new environment, see Add Environment. This process describes how to apply node rules using regular expressions for an existing environment.
-
In the Guardian web application, navigate to the Monitored tab (Inventory > Monitored). By default, all currently monitored nodes are displayed.
-
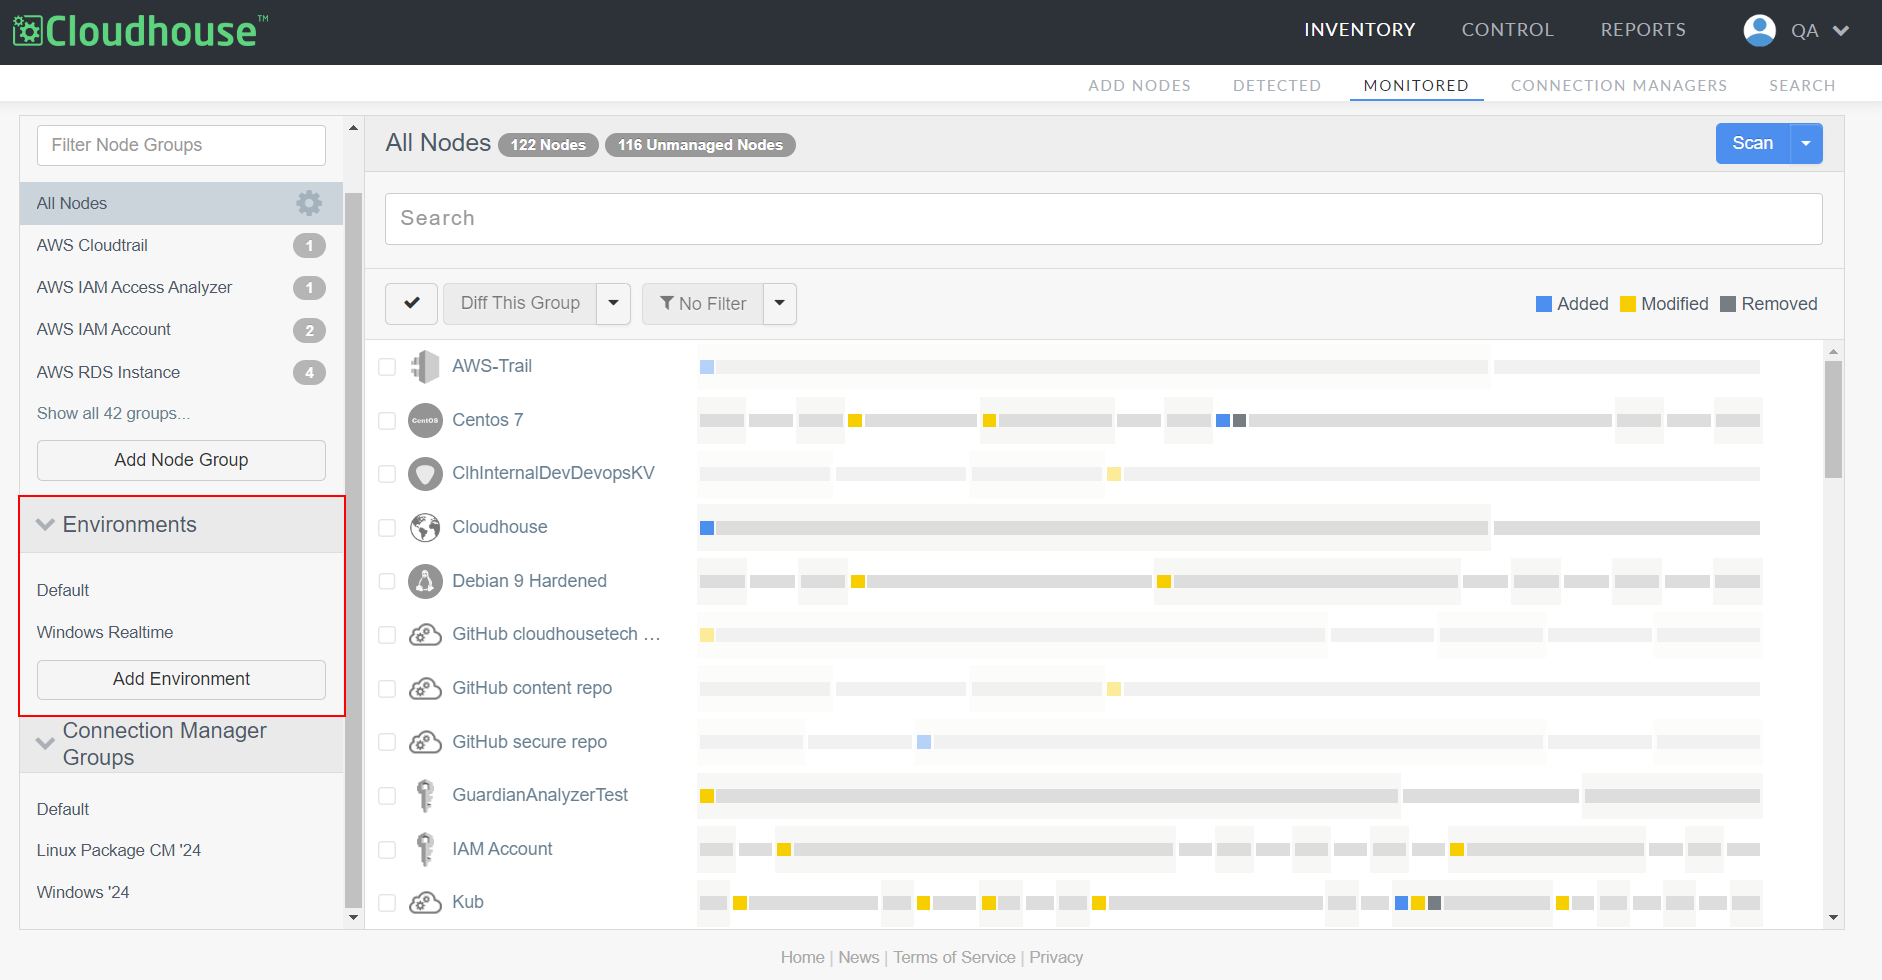
In the Environments drop-down menu, locate the environment you want to edit. Then, click the Settings button (
).
-
Select Edit from the list of options displayed. The Edit Environment page is displayed.
-
Enter a regular expression in the Node Rules (optional) field to match against the names of individual nodes. You can enter one expression per line, see Examples below for more information.
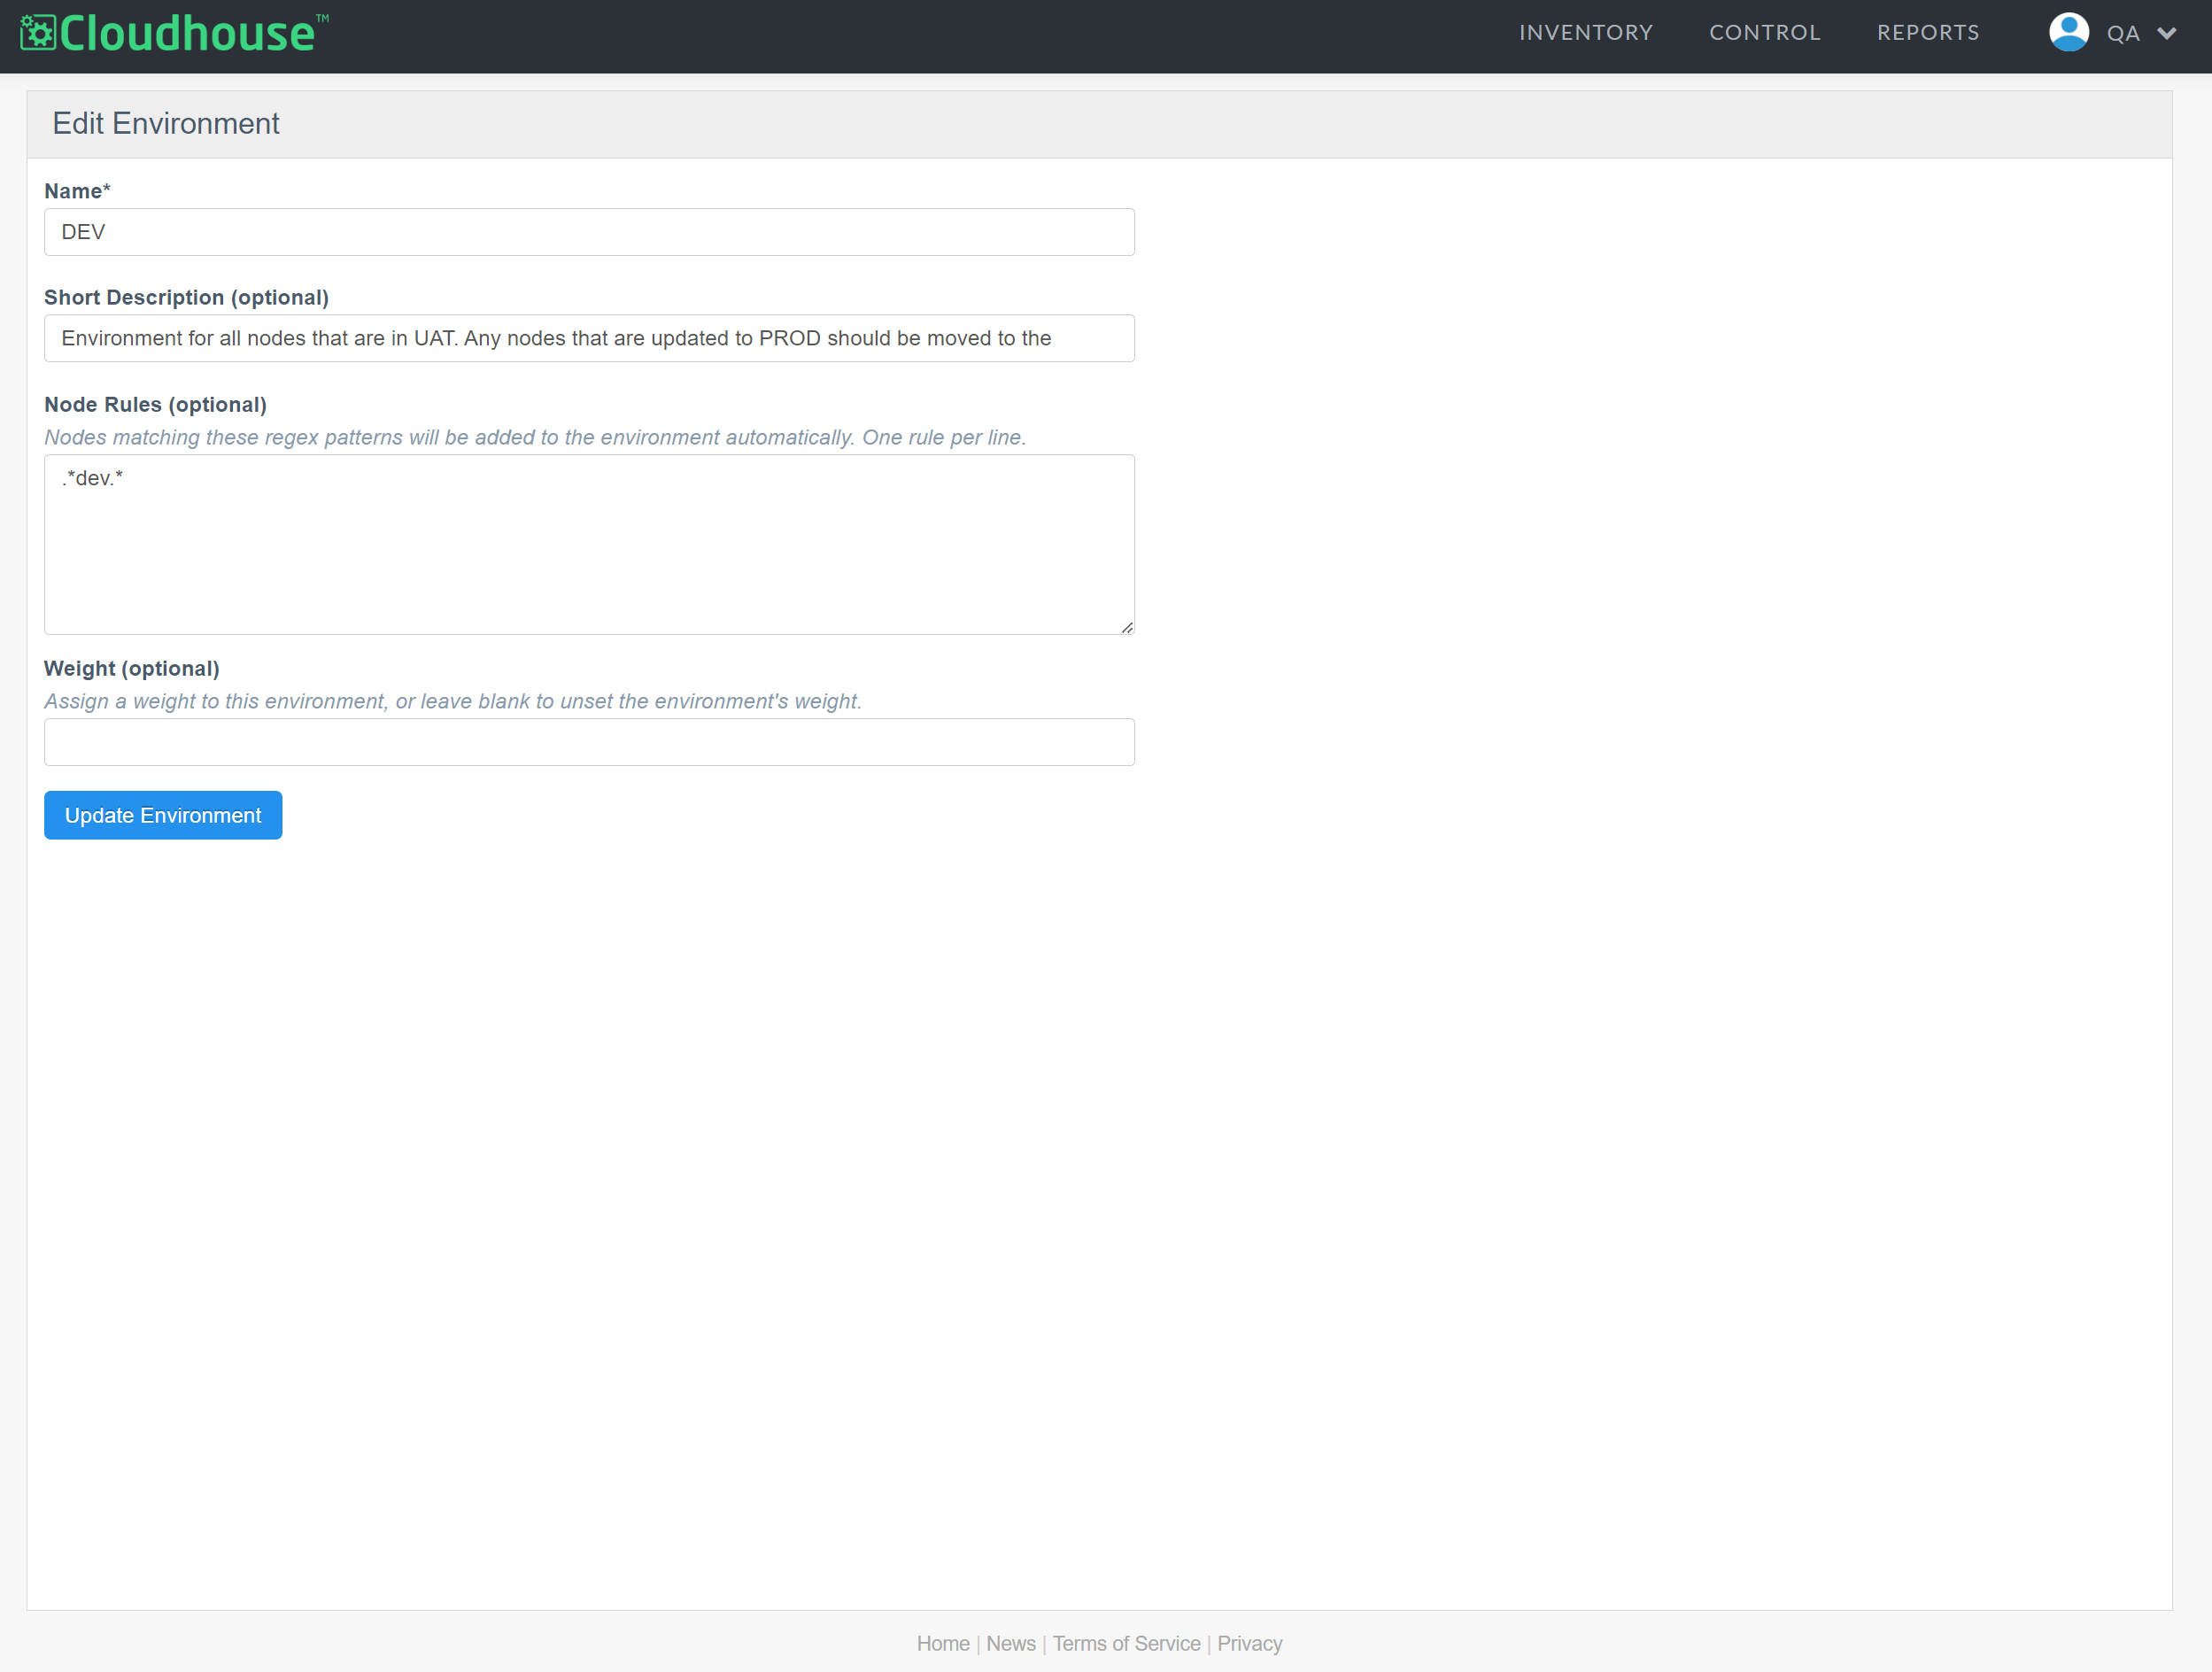
-
Once complete, click the Update Environment button to add the query to your environment's settings.
If successful, a confirmation message is displayed and the environment is updated and displayed. Any nodes that match the expression are automatically assigned to the environment, unless they are already present within another custom environment (any environment other than the 'Default' environment). For more information about each of the sections not described in this topic, see Edit Environment.
Examples
The following section describes some of the most commonly used regular expression formats. A complete tutorial is beyond the scope of this documentation, but many resources are available on the Internet.
To match all nodes that include the string test in their names, use the following expression:
.*test.*To only match node names that begin with the string windows, use the following expression:
^windows.*To match node names that end with a two-digit number, use the following expression:
.*\D\d{2}$